
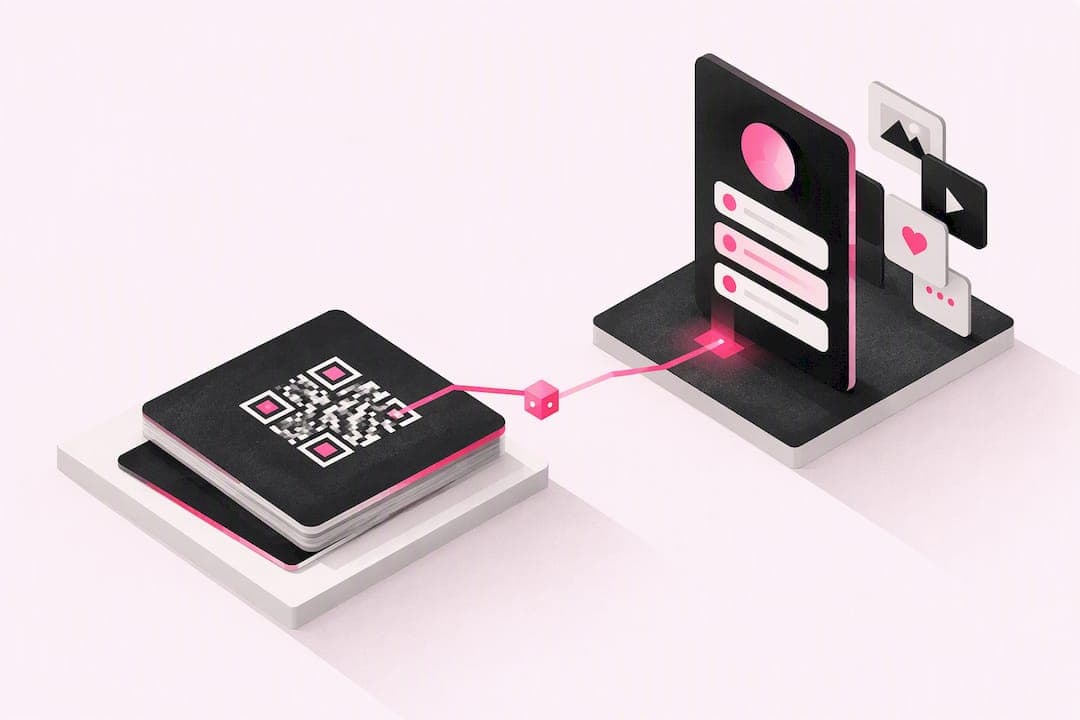
Use a dynamic QR code that points to your multi-link bio page, not a static one baked with a single URL. Export it as a vector file (SVG or EPS) for anything you plan to print, and follow basic sizing and contrast rules so a phone camera can read it on the first try. Get those three things right and everything else in this guide is optimization.
TL;DR:
- Use a dynamic QR code that points to your biolink page to allow link updates and access scan analytics over time.
- Keep contrast high and avoid covering the finder patterns to ensure reliable scanning, especially when adding a logo.
- Export QR codes as vector files for large print formats and size them at least 2 centimeters for close-range scans.
- Place QR codes on targeted materials like packaging or event signage to maximize engagement and make use of size and call-to-action prompts.
- Build and publish a customized bio page first, then generate the QR code, ensuring you track interactions without needing to reprint assets later.
Table of Contents
- How to Create a Bio Link QR Code Step by Step
- Dynamic vs Static: Which QR Code Type Do You Need?
- Can You Add a Logo Without Breaking the Scan?
- What File Format and Size Should You Export?
- What Analytics Do Dynamic QR Codes Give You?
- Where Should You Put Your QR Code?
- How Sorry.love Fits Into This Workflow
- The Part Most Guides Skip
- Get Your Bio Page and QR Code Live Today
- Sources
- FAQ
How to Create a Bio Link QR Code Step by Step
Building the code is the easy part. Building the page it points to, and setting things up so you can fix mistakes later, is where creators usually get it wrong.
Start with the bio page itself. It needs your priority links up top (the one thing you actually want people to click today), a clear call to action, and any contact or shop links that make you money. Everything else can sit below the fold.
Once the page exists, generate a dynamic QR code, not a static one. A dynamic code encodes a short redirect URL instead of your final destination, which is exactly what lets you change where it points after printing and track scans over time. Change your bio page next year and the same printed code still works.
- Finish and publish your bio page with your top three links visible.
- Generate a dynamic QR code pointing to that page's URL, using a free bio link QR generator or your platform's built in tool.
- Test the code on at least two different phones before you send it anywhere.
- Save both the vector export and the redirect link somewhere you won't lose them.
Dynamic vs Static: Which QR Code Type Do You Need?
Static QR codes have the data baked in permanently. Nobody can track scans, and if you make a typo or your link changes, the printed code is dead. That tradeoff is fine for something you'll never reprint, like a one-off flyer for an event that happens once.
Dynamic codes cost a little more setup but pay it back fast. They redirect through a short link you control, which means you can swap the destination without touching the printed material, and you get scan analytics on top of it.
Here's how to decide:
- Business card: static is fine. The card itself gets replaced often enough that permanence isn't a real cost.
- Campaign poster or window sticker: go dynamic. You'll want to update the destination or measure scans without reprinting.
- Packaging or merch that stays in circulation for years: dynamic, always. Your bio page will change long before the product does.
- One-time event signage: static is acceptable if you're not tracking results.
One caveat worth knowing: a dynamic code's redirect depends on whatever service issued it. If that service shuts down or caps your scans, the code stops working even though nothing physically changed. Pick a generator tied to a platform you trust to stick around.
Can You Add a Logo Without Breaking the Scan?
Yes, within limits. QR codes have built-in error correction, which means the code can lose a percentage of its data and still decode correctly. That headroom is what lets you drop a small logo in the middle without disabling the whole code. Push past it and scanners start failing, especially older phone cameras or cheap third-party scanner apps.
GS1's guidance on customized 2D barcodes is blunt about this: logos and decorative elements aren't part of the QR standard, and heavy customization risks scan failures in situations where speed matters, like retail checkout. The same logic applies to your printed poster. A code that takes three tries to scan loses most of the audience who'd have tapped through immediately.
Keep these limits in mind:
- Keep contrast high. Dark code on a light background scans far more reliably than the reverse or a busy multi-color background.
- Never cover the three corner squares (the finder patterns). That's how a scanner orients the code.
- Keep any logo small and centered, ideally under 10 to 15 percent of the code's area.
- Test the branded version on multiple phones, not just yours, before it goes to print.
Pro Tip: Use a short redirect URL for your dynamic QR code. Less encoded data means more error correction budget left over for your logo, which directly improves how much branding you can get away with.
What File Format and Size Should You Export?

Export SVG or EPS for anything going to a printer, and PNG for anything staying on a screen. Vector formats scale to any size without pixelating, which matters the moment your code shows up on a banner instead of a business card. A PNG built for a phone screen turns to mush at poster size.
Sizing has a real floor. For close-range scanning, roughly 2 x 2 cm (0.8 x 0.8 in) is the practical minimum, and codes meant to be scanned from farther away need to scale up proportionally with the distance.
- Business cards, product tags, receipts: 2 to 3 cm minimum, vector export.
- Flyers and table signage (arm's length): 4 to 5 cm.
- Posters or storefront windows (several feet away): 10 cm or larger, always vector.
- Billboards or large banners: scale the vector file up; never stretch a raster PNG.
For raster exports that do need to be a fixed pixel image, aim for 300 DPI so print doesn't come out blurry, and preserve the quiet zone (the blank margin around the code) at roughly four modules wide on every side. Skimping on that margin is one of the most common reasons a perfectly good code fails to scan.
What Analytics Do Dynamic QR Codes Give You?
A dynamic code turns a printed object into a measurable channel, which is the whole point of using one. Most generators report scan counts, a time distribution showing when people scanned, device type, and an approximate location based on IP data, all without collecting anything personally identifiable from the person scanning.
Set a real KPI instead of just watching the number climb. Something like scans per poster per week, or a scan-to-follow conversion rate, gives you a baseline you can compare against.
- Track total scans against a weekly or monthly target tied to where the code is placed.
- Compare two placements or two calls to action against each other, a simple A/B test using two separate dynamic codes.
- Watch device type if you're deciding whether to optimize your bio page for iOS or Android quirks.
- Check the time distribution to see whether scans cluster around a specific event or hour, which tells you if a physical placement is actually getting seen.
Where Should You Put Your QR Code?
Placement determines whether any of the design work matters. A perfectly built code stuck somewhere nobody looks is wasted effort.
The highest-return spots for creators and small businesses are business cards, product packaging, merch tags, event signage, and printed promos handed out in person. Each one puts the code in front of someone who's already primed to want more, which is a much better conversion moment than a cold social ad.
- Match the placement to a goal first: packaging QR codes for repeat customers, event signage for follower growth, printed promos for email capture.
- Size the code for the expected viewing distance, not just for looking neat on the page.
- Add a one-line call to action next to the code. "Scan for my links" outperforms a bare code every time.
- Test the final printed piece yourself, at the actual distance a viewer will stand, before the full run goes out.
- Confirm contrast holds up under the specific paper stock or packaging material, since matte and glossy finishes reflect light differently.
How Sorry.love Fits Into This Workflow
The platform gives creators one link to build the QR code around in the first place, instead of choosing among multiple platforms to point people toward. A Sorry profile consolidates your social links, real-time Discord presence, background music, and layout customization into a single page, plus privacy-preserving analytics on top of whatever your QR generator reports.
The practical workflow: build your profile, customize the layout to match your brand colors (useful context when you're choosing a QR color palette that won't clash), generate your dynamic QR pointing at your profile URL, then export the vector version for print.
For creators planning to print QR codes on merch or packaging that stays in circulation, the lifetime pricing model matters more than it sounds. You're not budgeting a recurring fee against a physical asset that might be in circulation for years.
The Part Most Guides Skip
Most QR advice fixates on the code itself: the logo, the color, the corner radius. That's backwards. A QR code is only as good as the page it lands on, and creators reprint physical materials far less often than they update their links. Get the destination page right first.

The GS1 sizing and contrast rules aren't bureaucratic overkill either. They exist because retail scanners fail fast at checkout speed, and a phone camera in dim light behaves the same way. Ignoring quiet zone or contrast guidance doesn't make your code more creative, it makes it a coin flip.
The single highest-leverage decision in this entire process is choosing dynamic over static. Everything else, the logo, the color, the exact centimeter size, is refinement. Get the redirect right and you can fix every other mistake without reprinting a single card.
— sorry.love
Get Your Bio Page and QR Code Live Today
Sorry gives you one page to unify every link, show your live presence, and track how people actually interact with your profile, which is exactly what a QR code needs on the other end of the scan. Skip the multi-tool juggling and build the destination first.

Start with a free Sorry profile, add your priority links and layout, then generate your dynamic QR code pointing at it. If you want verification or custom badges before you print a larger run, check the pricing page for the one-time upgrade options. Your first action: create the profile, publish it, and export the QR as SVG before you order anything printed.
Sources
For deeper technical detail beyond this guide, consult GS1's 2D barcode customization guidance for size and design limits, the minimum size guidelines for scaling by distance, and the QR design rules for contrast and testing checklists.
FAQ
How do I get a bio link for my profile?
Sign up for a bio link platform, add your social and shop links, publish the page, and copy its URL. That URL is what your QR code and any "link in bio" mention should point to, and platforms like Sorry let you set this up with a customizable layout in a few minutes.
How do I find the QR code for my link?
If your bio link platform generates one automatically, it's usually in your profile settings or share menu. If not, paste your profile URL into a dedicated bio link QR generator to create one instantly.
What is a Linktree QR code and can I make one for any platform?
A Linktree QR code is just a QR code pointing to a Linktree profile URL, but the same method works for any bio link service. You can generate a QR code for a Sorry profile, a Linktree page, or any custom URL the same way: point a QR generator at that link.
How can I generate a QR code for my bio link?
Copy your bio page's URL, paste it into a QR generator that supports dynamic codes, and download the vector file for printing. Choosing dynamic over static means you can update the destination later without reprinting anything.
Does Sorry charge ongoing fees for premium features or QR-ready profiles?
No. Sorry uses a one-time payment model: Premium is a $6.99 one-off, and Verified status is a $9.99 one-off, with no recurring subscription. The free plan covers a basic profile if you just need a link to point your QR code at.